Why Dog Ear Hygiene Matters: Preventing Infections and Discomfort
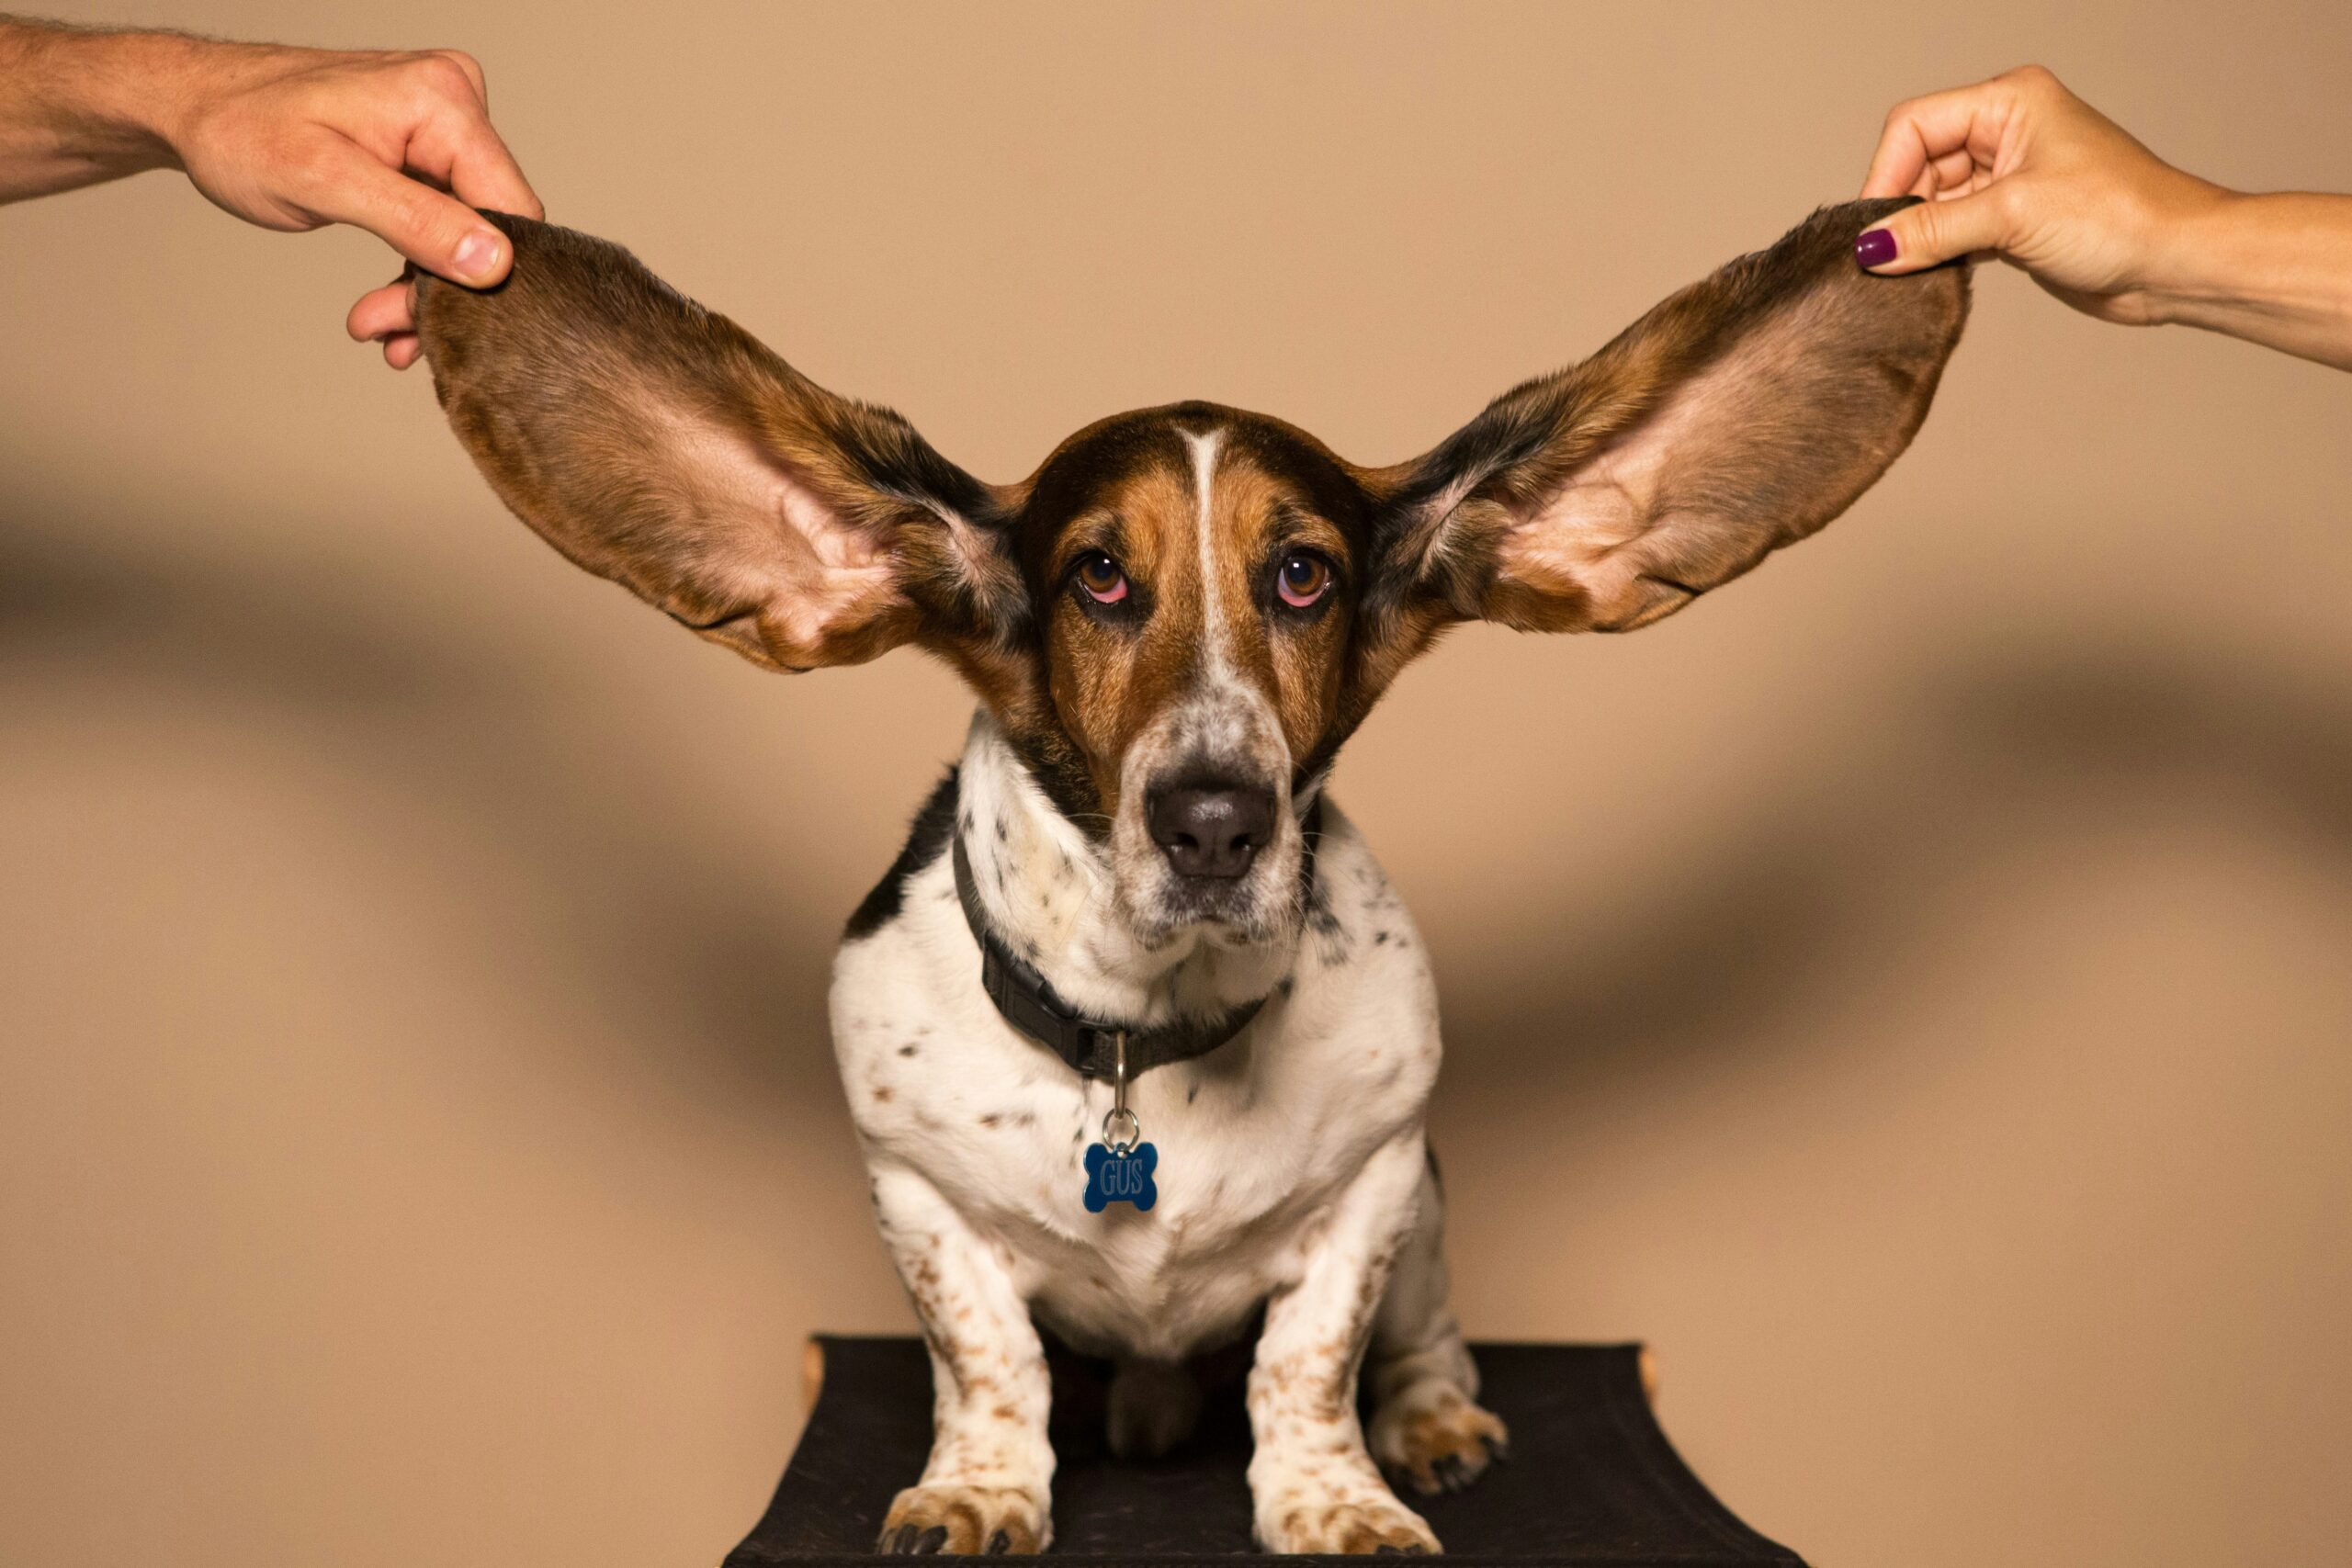
Keeping your dog’s ears clean is an essential part of their overall health. Neglecting ear hygiene can lead to infections, discomfort, and even hearing loss. Dogs with floppy ears or those that swim frequently are especially prone to ear issues. Regular ear cleaning helps prevent wax buildup, reduces the risk of bacterial and yeast infections, and keeps your furry friend comfortable.
Ear infections can cause significant pain and distress for dogs. If left untreated, they can lead to chronic inflammation and even long-term damage. Additionally, dirty ears can harbor mites and bacteria, making your dog more susceptible to health issues. By establishing a regular cleaning routine, you not only ensure your dog’s comfort but also reduce expensive vet visits and medical treatments.
Step-by-Step Guide to Cleaning Your Dog’s Ears at Home
Cleaning your dog’s ears doesn’t have to be stressful—for you or your pup! With a little patience and the right tools, you can make it a smooth and positive experience. Here’s a detailed, step-by-step guide:
1. Gather Your Supplies
Before starting, ensure you have everything you need:
- A vet-approved ear cleaning solution
- Cotton balls or gauze (avoid cotton swabs, as they can push debris further in)
- Treats for positive reinforcement
- A towel (to catch any mess)
- A second person to help if your dog is fidgety
2. Create a Calm Environment
Choose a quiet space where your dog feels safe. Some dogs may resist at first, so gently petting and speaking calmly can help reassure them. If your dog is squirmy, you might need a second person to assist.
Play soft music or use calming scents like lavender to help relax your dog. Ensuring they are in a calm state before beginning will make the process easier.
3. Inspect Your Dog’s Ears
Before cleaning, check for any redness, swelling, foul odor, or excessive wax buildup. If you notice pus, bleeding, or your dog seems in pain, stop and consult your veterinarian instead of proceeding.
Healthy ears should be pink, clean, and free of excessive odor. If you notice dark discharge, scabs, or swelling, this may indicate an infection or ear mites, requiring veterinary attention.
4. Apply the Ear Cleaner
- Gently lift your dog’s ear flap and squeeze a few drops of the ear cleaning solution into the ear canal.
- Avoid inserting the nozzle too deep—just enough to get the solution inside.
Choose a cleaner specifically formulated for dogs. Avoid using hydrogen peroxide, alcohol, or vinegar solutions unless advised by a vet, as they can cause irritation.
5. Massage the Base of the Ear
Using your fingers, gently massage the base of the ear for about 20-30 seconds. This helps the cleaner break up wax and debris inside the ear canal.
You may hear a squishing sound, which is normal. This step is crucial for loosening debris and ensuring the solution works effectively.
6. Let Your Dog Shake Their Head
Your dog will likely shake their head—this is a natural response and helps remove loosened debris. Keep a towel handy to avoid getting splashed.
Encourage shaking by stepping back and allowing your dog to react naturally. This is an important part of the cleaning process.
7. Wipe Away Excess Dirt and Solution
Use a cotton ball or gauze to gently wipe away dirt, wax, and any excess cleaner from the outer part of the ear. Be careful not to push debris further inside.
Do not use Q-tips or deep-clean inside the canal, as this can cause injury. Stick to the outer ear and visible areas.
8. Reward Your Dog
Praise your dog and offer a treat! This positive reinforcement helps make future cleanings easier.
Engaging in playtime or giving extra affection can help your dog associate ear cleaning with a positive experience.
When to Seek Veterinary Help
If your dog’s ears remain dirty despite regular cleaning, or if you notice persistent signs of infection (bad smell, dark discharge, excessive scratching), consult a veterinarian.
If your dog frequently suffers from ear infections, consider discussing diet and allergies with your vet, as these can contribute to chronic ear problems.
Signs Your Dog’s Ears Need Cleaning (And When to See a Vet)
Not all dogs require frequent ear cleanings, but knowing the signs of dirty or infected ears can help you intervene before issues arise.
Common Signs That Your Dog’s Ears Need Cleaning:
- Frequent Head Shaking: If your dog keeps shaking their head, it may indicate irritation from wax buildup or debris.
- Scratching or Pawing at Ears: Excessive scratching around the ears can be a sign of discomfort or an underlying problem.
- Foul Odor: A strong, yeasty, or foul smell from the ears often signals an infection.
- Visible Wax or Debris: If you see brown, yellow, or dark-colored wax accumulating in the ear canal, it’s time for a cleaning.
- Redness or Swelling: Inflamed ears could indicate an infection or an allergic reaction.
- Discharge or Pus: Any unusual discharge, especially if it’s thick or has an odor, requires immediate veterinary attention.
- Sensitivity or Pain: If your dog whines or pulls away when you touch their ears, they may have an infection or injury.
When to See a Veterinarian:
If your dog’s ears are red, swollen, or hot to the touch, an infection may be present. Other signs to watch for include:
- Persistent bad odor or excessive wax buildup that doesn’t improve with cleaning.
- Recurring ear infections, which may indicate allergies or another medical condition.
- Hearing loss or balance issues, which could signal a deeper ear problem.
- Bleeding from the ear canal, which may be due to injury, infection, or parasites.
Never attempt to treat a suspected infection at home without consulting your vet. Using the wrong cleaning solutions or excessive force can worsen the problem.
The Best Ear Cleaning Products for Dogs: What to Use and What to Avoid
When choosing an ear cleaner, opt for products recommended by veterinarians. Look for solutions with natural ingredients like aloe vera or witch hazel. Avoid alcohol-based cleaners, as they can cause irritation. Never use cotton swabs inside the ear canal, as they can push debris further in.
Veterinary-recommended ear cleaning solutions often contain antimicrobial properties to help prevent infections. Some over-the-counter products may contain harsh chemicals that can do more harm than good, so always read the ingredients list before purchasing.
Conclusion
Keeping your dog’s ears clean is an easy yet crucial step in their care routine. By following these guidelines, you can help prevent infections, ensure comfort, and maintain your pet’s overall well-being.
If you’re ever unsure about your dog’s ear health, don’t hesitate to consult your veterinarian. A proactive approach to ear care can save your pup from unnecessary discomfort and costly treatments in the long run.